


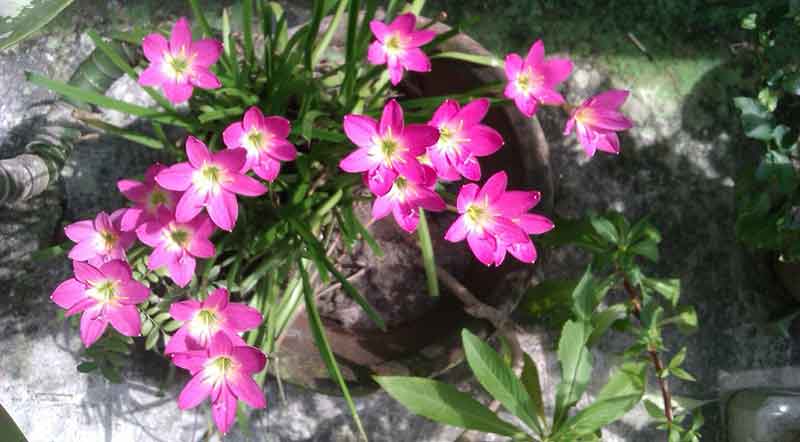
Namaskar Desi Gardeners! Rain lily is one of the easiest plants to grow. It needs little care and will keep on flowering year after year. Best of all, it propagates very fast through its bulbs so you have more new plants every year.
How to plant the rain lily seeds or bulbs
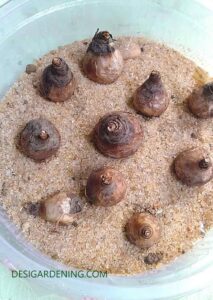
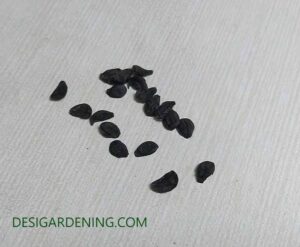
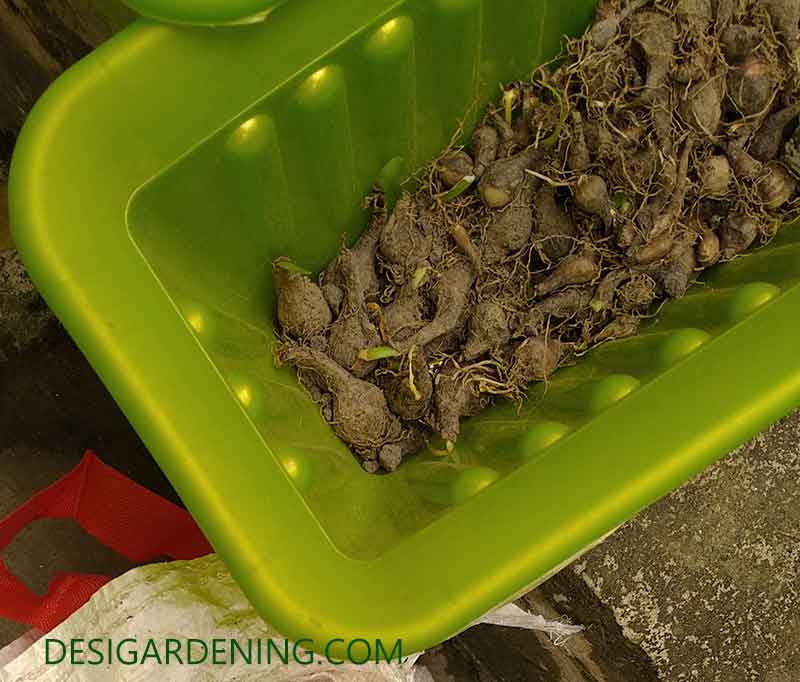
Rain lily, also called zephyranthes, is planted through seeds and bulbs. This is how seeds and bulbs look like.
The bulbs are quite small, about an inch and a half in height. Most people prefer to plant bulbs as it flowers faster. Seeds take a longer time to germinate and grow into a plant.
Rain lily bulbs as well as saplings are relatively easy to get in your local nursery. If you want to purchase seeds you should try to get it online from a reputed seller. However, my advice is that it is always better to grow rain lilies from its bulbs.
How to choose the right rain lily bulbs?
Choose rain lily bulbs that are bigger. These are mature. You can also choose the one that has small bulblets attached to it.
Avoid bulbs that look too white or black. It could be affected by fungus. The bulb should not feel squishy to touch.
If your bulbs are starting to sprout, then plant them without too much delay.
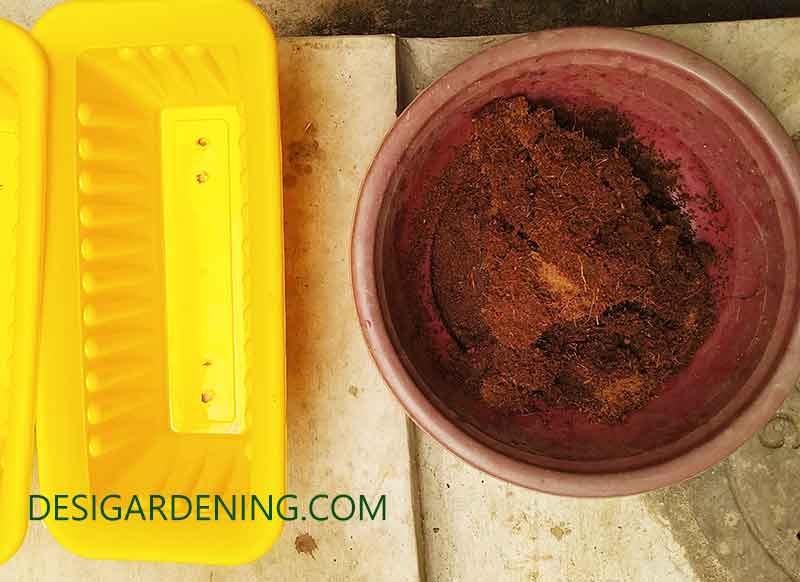
Potting mix
This is the potting mix I use for my rain lily. Do not worry if you do not have all the items.
- Compost 40 %
- Soil 40%
- Sand 10%
- Cocopeat 10%
- For 6-to-8-inch pot add a handful of mustard cake, neem cake and bonemeal.
Compost can be of different types. You can know about it here. Any kind of compost will do.
Sand is mixed to the soil so that the water does not stand and make it soggy. That will cause the bulbs to rot.
Cocopeat is added because rain lily bulbs like to stay moist (but not soggy). Cocopeat retains moisture.
Mustard cake is a very good source for food and nutrition for the plants. Bonemeal will help the plant to grow healthy.
Neem cake is a must. It will help your hard-earned plants to stay healthy and protect from attacks. Every gardener must have neem cake powder at home. It is organic, it provides nutrition. We Indians are so blessed to have neem trees growing everywhere and that makes it very easily available to us in the nurseries.
How to plant the rain lilies?
Before planting the bulbs or seeds, soak for about 30 minutes to one hour in fungicide mixed water. Take half teaspoon of any fungicide and mix in 1 litre of water. You can take SAAF, Bavistin, Trichoderma, Mancozeb or any organic fungicide. After soaking, keep the water.
View this post on Instagram
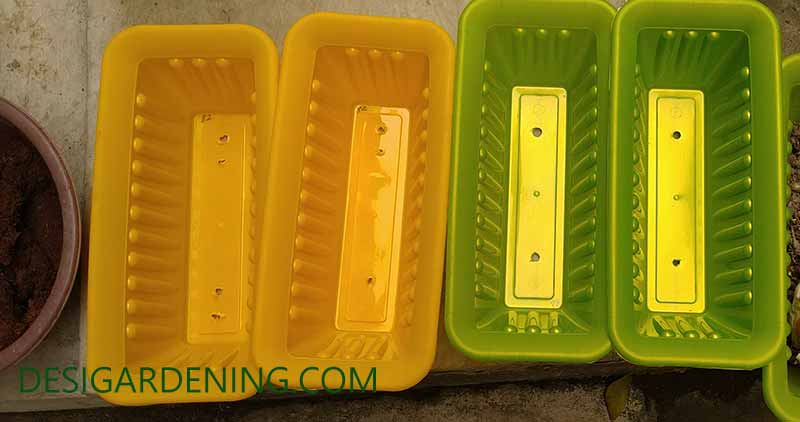
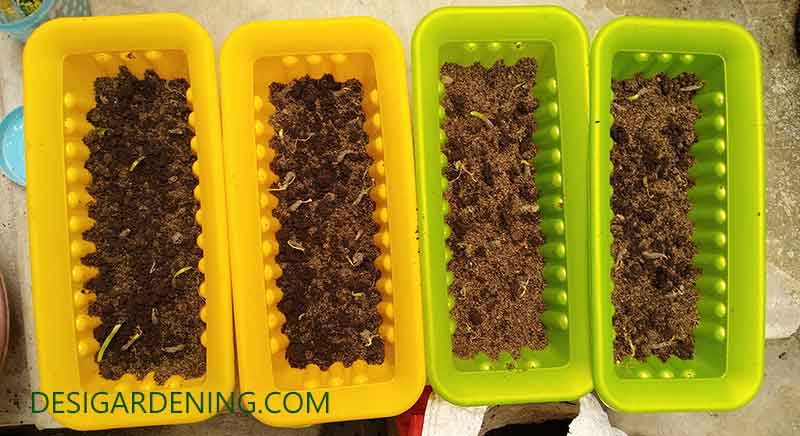
Pot for rain lily
Rain lilies do no need to much depth. 6-inch depth is sufficient. I usually prefer rectangular or square planters as the rows of plants look good.
You can also put rain lilies as borders in the soil. When these flowers bloom at once, it is sight that will impress everyone. Even when it does not flower, the leaves that look like long grass, gives a lot of greenery.
Placing the bulbs
Put the rain lily bulbs about two inches apart. That way the bulbs will not compete for food, water and sun and also have space for new bulblets. But do not put it too far from each other. Rain lilies look good when grown close to each other.
If planting in pot, make sure the drainage hole is open properly. Cover it with pebbles, stones or broken terracotta parts. Then add 3 to 4 inches of soil at least. Place the bulbs keeping the flat end downward and then layer it with soil again. Make sure the crown of the bulb stays just at the level of the soil. There is no need to plant it deeply.
Now use the fungicide water in which the bulbs were soaked. Put that water in the pot and add then more plain water if necessary. For the first time you need to water it well and see that the water comes out of the drainage hole.
Keep it a shaded area for a week. The bulbs should start to sprout a little by then. Then transfer it to a sunny area. Do not put any fertilizer in this pot for at least a month. There is enough food already in the pot.
Care for rain lily
Rain lilies like the sun. Give it full day sun or at least the morning to afternoon sun.
Keep the soil moist. Do not let it dry out.
These are some things to keep a note of. Rain lilies are hassle free plants. They grow well even in poor soil. For best results, we should give it food and water and that will give us more flowers.
How to fertilize rain lilies?
Give liquid fertilizer solution made out of mustard cake every 15 days. You can also give NPK 15-15-15, 19-19-19 or 20-20-20 instead or alternatively. Before its flowering season apply potash.
Add a handful of compost twice a year.
Protecting rain lily plants
Rain lilies are hardy plants but can be affected by a few pests like snails and caterpillars that will eat will all the leaves and bulbs. Spray neem oil and soap solution every seven to ten days.
When does Rain Lily flower?
As the name goes, it flowers best in the rainy season. After a few showers, the plants will grow long sticks with a bud on top.
At a time during monsoon, rain lilies grow at once which makes it look very pretty. The flowers will stay for a few days if the weather allows it to. After the flower withers, it starts to form the seeds. The seeds are black and glossy. If you are growing in soil, let a few remain in the plant so that it spreads and more plants come up. If it is in pot, collect the seeds. The seed pot will dry out and open up. Keep it or distribute it.
You can also put a handful of the seeds in open areas during monsoon. This will help in creating more greenery and also prevent soil erosion. The leaves of rain lilies look like grass and will cover the open areas.
Rain lilies will also flower in lesser numbers during the non-rainy seasons. You can see blooms in winter and summer with the right food and watering. You can cut the foliage in half during the winters of mature plants. Add a teaspoon of potash in a litre of water and add it to the plants. These tricks will trigger it to produce buds.
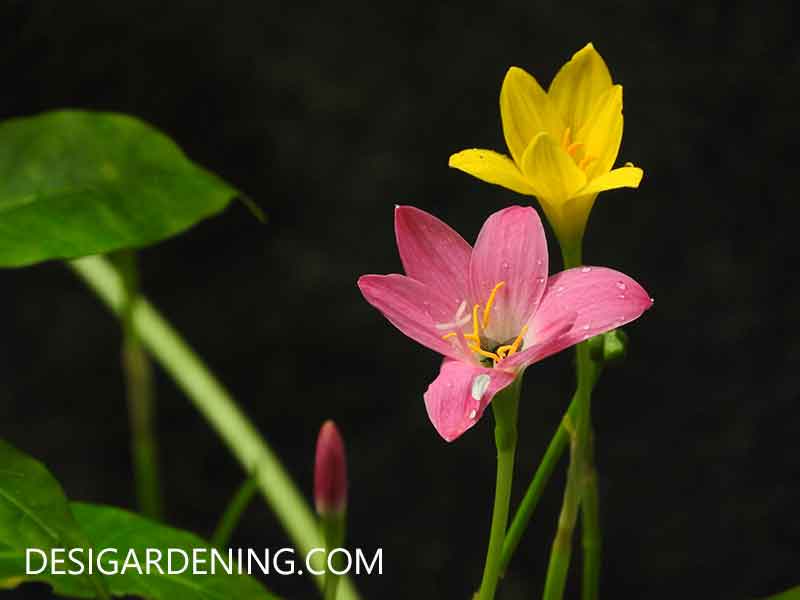
What are the Rain Lily colours?
Naturally, rain lilies come in pink, yellow and white. Pink is most commonly available and it seeds and bulbs are the cheapest. White costs more than the pink and yellow ones, whether it is seed, bulb or plant.
Rain lily hybrids come in many colours nowadays. We get colours like red, deep pink, peach, orange and several mixed shades. However, rain lily hybrids grow from bulbs and usually not from seeds.
I will show you how to make your own hybrids. I will also update you on how to harvest your rain lily bulbs after flowering for the next year. But that is for another day. For now, go plant your bulbs. Happy Gardening 😊
View this post on Instagram


